
Your machine has cut a beautiful design, and now it’s hiding inside a sheet of vinyl. Weeding, the step where you remove the vinyl you don’t want, is where many beginner projects go wrong: letters lift, tiny dots disappear, and the inside of every “o” ends up stuck to your finger. A few habits make it far easier.
Short answer: to weed vinyl, cut a little test first to confirm your settings, trim the excess around the design, add weeding boxes or lines, then peel the large background piece away at a sharp angle starting from a corner. Use a weeding hook to lift the small inside pieces, working slowly and holding down nearby details with a finger. For tiny or intricate designs, warm the vinyl slightly or try reverse weeding.
What “weeding” means
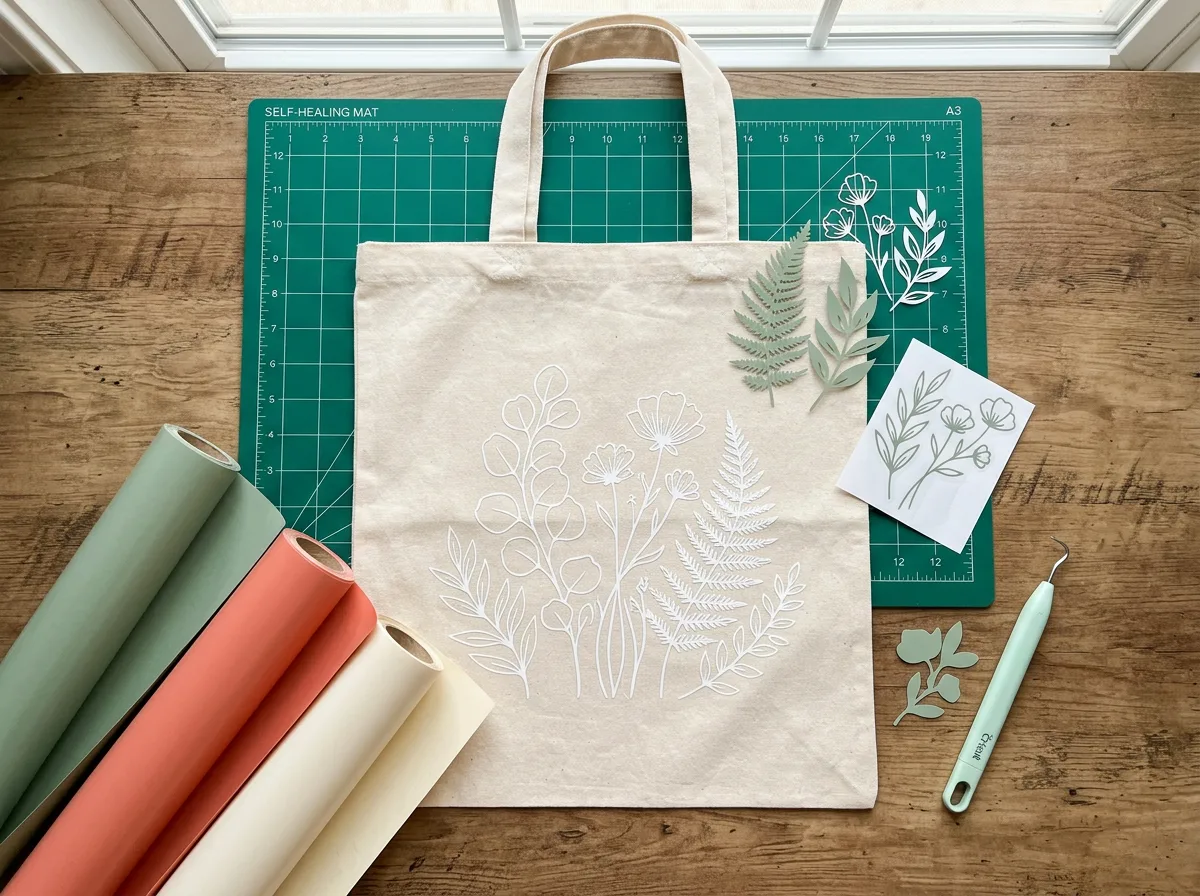
After a cut, the design and the unwanted vinyl are still on the same backing (called the liner for adhesive vinyl or the carrier sheet for iron-on). Weeding removes the negative space: the background, the centres of letters, and any small cut-outs. What’s left is the design you’ll transfer to your surface.
Tools that help
| Tool | What it’s for |
|---|---|
| Weeding hook | Lifting and pulling small pieces; the essential tool |
| Fine-tip tweezers | Gripping tiny pieces once lifted |
| Scraper | Burnishing vinyl back down if it lifts |
| Light pad | Making cut lines visible, especially on dark or glitter vinyl |
| Craft knife | Trimming excess and cutting stubborn spots |
| Lint roller or sticky tape | Catching discarded scraps so they don’t stick to everything |
You don’t need everything on day one. A weeding hook and a pair of tweezers will handle most projects.
Step-by-step: how to weed vinyl
1. Start with a clean cut
Weeding is only as easy as the cut. Before cutting a large project, cut a small test shape and try weeding it. If the vinyl tears or won’t release, the blade isn’t cutting all the way through: increase pressure, change to the correct material setting, or replace a dull blade. If the liner is scored deeply, reduce the pressure. Our guide on uploading an SVG to Cricut Design Space covers getting a file ready to cut.
2. Trim the excess
Cut away the unused vinyl around the design with scissors or a knife. A smaller sheet is easier to handle and less likely to fold onto itself.
3. Add weeding lines or a weeding box
A rectangle drawn around your design in your design software (often called a weeding box) gives you a clean edge to start peeling from. For large designs, a few straight lines across the background split it into sections, so you’re removing several small pieces instead of one huge, stretchy one.
4. Peel the background
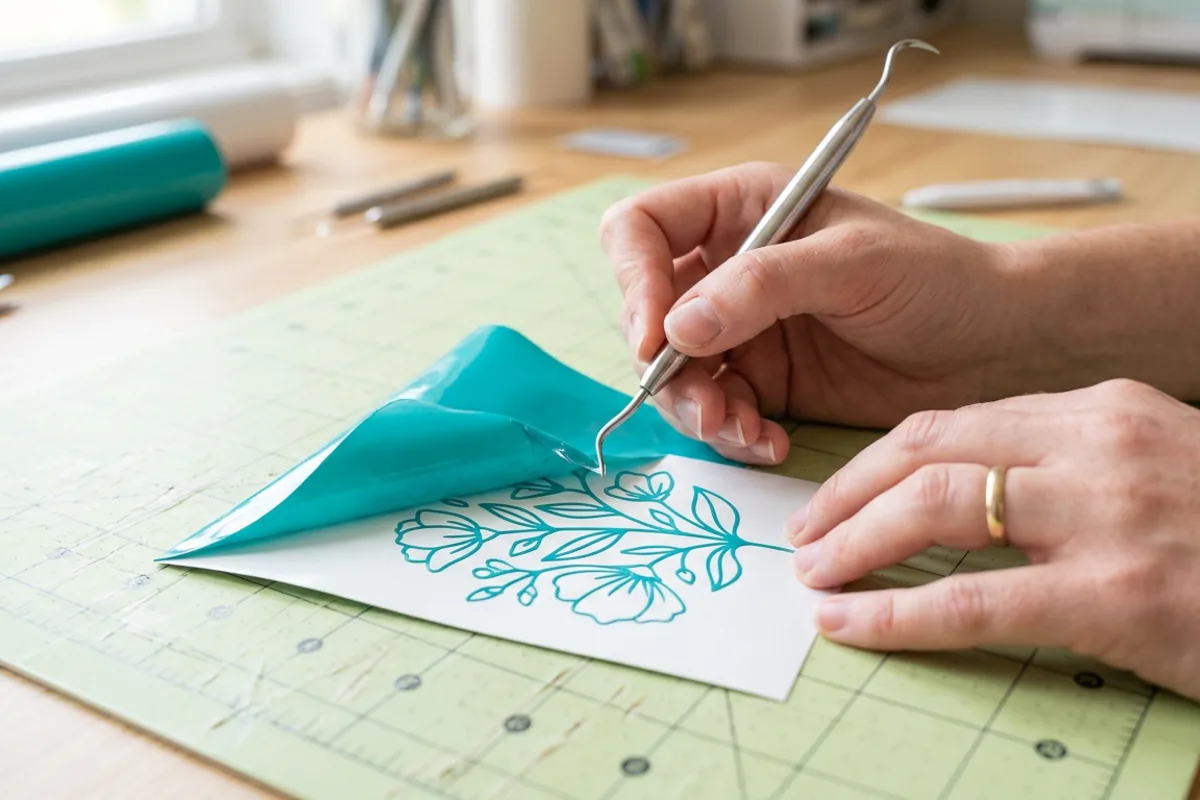
Lift a corner of the background with your hook, then peel it back slowly at a low, sharp angle, close to the surface. Watch the design as you go. If a letter starts to lift, stop, press it back down, and peel from a different direction.
5. Remove the inside pieces
Use the hook to lift the centres of letters, small dots and other cut-outs. Work from the top left to the bottom right (or the reverse if you’re left-handed) so your hand rests on areas you’ve already finished. Stick the scraps to a lint roller or a strip of tape next to you.
6. Check against the original
Keep the design open on your screen and compare. It’s easy to remove a dot over an “i” or the hole in a punctuation mark by accident, or to miss a tiny piece that should come out.
Adhesive vinyl vs iron-on: what’s different
- Adhesive (permanent or removable) vinyl: cut with the colored side up and the design not mirrored. After weeding, you’ll use transfer tape to move it to your surface.
- Iron-on (heat transfer vinyl, HTV): cut with the shiny carrier side down on the mat and the design mirrored. After weeding, the clear carrier holds the design in place for pressing. The carrier is slightly sticky, which actually makes small pieces more forgiving.
Mixing these up is one of the most common beginner mistakes. If you’re working with HTV, our guide to layering heat transfer vinyl on a t-shirt picks up where this one ends.
Reverse weeding for tiny details
For delicate designs, try reverse weeding, a technique often used with adhesive vinyl:
- Remove only the background around the outer edge of the design.
- Apply transfer tape over the whole design, inside pieces and all.
- Flip it over and peel away the vinyl liner.
- Now remove the small inside pieces from the sticky side of the transfer tape, where they’re held firmly instead of floating loose.
Tips for tricky vinyl and designs
- Warm it up. A few seconds of gentle warmth from a hair dryer, or working on a warm surface, can make some vinyl release more easily. Don’t overheat it.
- Use a light pad. Backlighting makes cut lines visible on dark, glitter and holographic vinyl.
- Size up. Very small text and thin lines are hard to weed on any material. If your design allows it, scale it up or choose a bolder font.
- Choose the right material. Glitter and specialty vinyls are often thicker and need a different cut setting from standard vinyl.
- Pick designs made for cutting. Well-built cut files avoid stray nodes and hairline gaps. You’ll find cut-ready designs in our SVG cut files collection.
Common problems and fixes
| Problem | Likely cause | Fix |
|---|---|---|
| Vinyl tears while weeding | Blade not cutting through | Increase pressure or replace the blade |
| Design lifts with the background | Peeling too fast or at a high angle | Peel slowly at a sharp angle; press pieces back down |
| Can’t see cut lines | Dark or glitter material | Use a light pad or tilt the sheet in the light |
| Tiny pieces vanish | Detail too small for the material | Scale up, use reverse weeding or a bolder font |
| Liner cut through | Pressure too high | Reduce pressure or choose a lighter setting |
FAQ
Why is my vinyl so hard to weed?
Usually the blade isn’t cutting all the way through the vinyl, or the blade is dull. Do a test cut, adjust the pressure or material setting, and replace the blade if needed.
Do I need a weeding tool, or can I use a pin?
A pin or a craft knife can work in a pinch, but a proper weeding hook is designed to lift and hold small pieces and makes the job much faster.
Should I weed vinyl before or after applying transfer tape?
Usually before. The exception is reverse weeding, where you remove the inside pieces after applying transfer tape, which helps with very small details.
Leave a Reply