
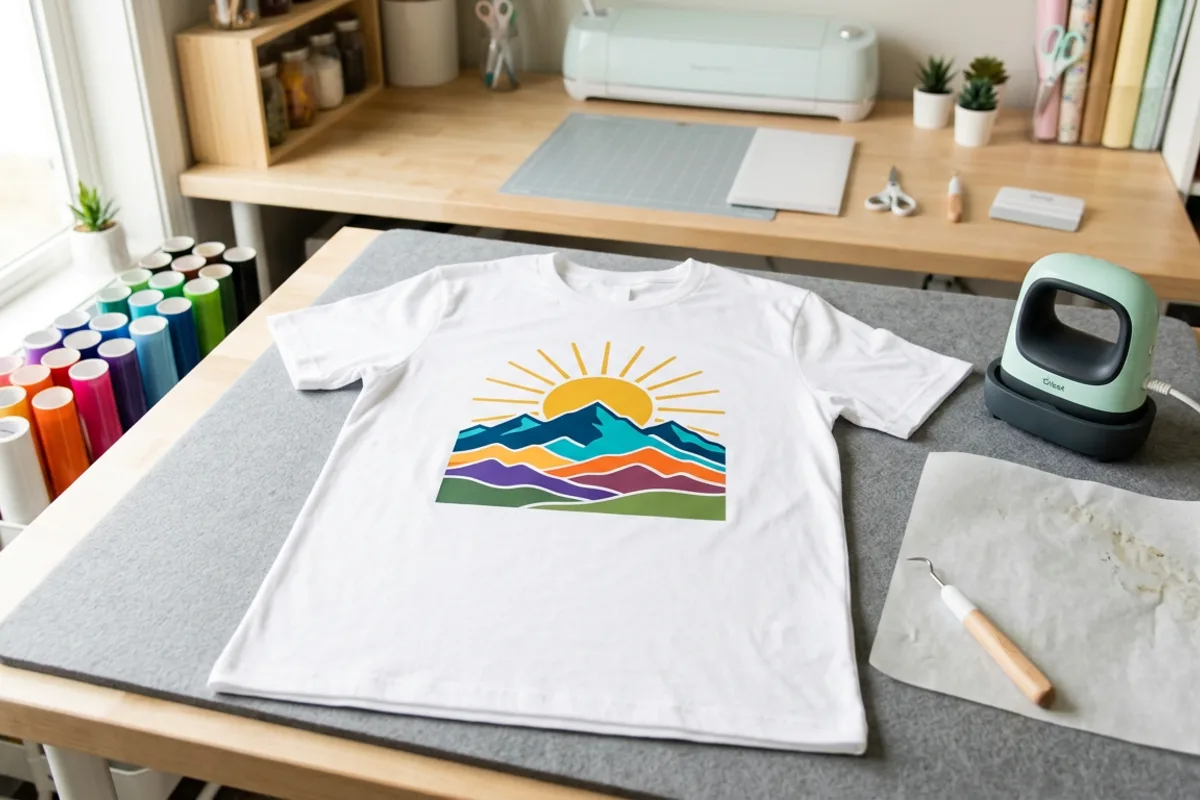
A one-colour shirt is a great first project. A three-colour design, with each colour sitting perfectly in place, is what makes people ask where you bought it. Layering heat transfer vinyl isn’t hard once you understand two things: the order you press in, and how long each layer stays under the heat.
Short answer: to layer HTV, cut each colour as a separate mirrored layer, weed them, then press the bottom layer first for just a few seconds to tack it down, peel the carrier, and repeat with each layer on top. Only the final layer gets the full press time recommended for your vinyl. Keep to about three or four layers of standard HTV, and don’t put other vinyl on top of glitter or most specialty HTV.
Two ways to layer: stacking vs knockout
| Method | How it works | Pros | Cons |
|---|---|---|---|
| Stacking | Each colour sits fully on top of the one below | Easy to align; forgiving | Adds thickness; heavier feel |
| Knockout (slice or offset) | The shapes underneath are cut away where upper layers sit, so each colour touches the fabric | Thinner, softer, more breathable | Needs careful alignment |
For most beginner shirts, stacking two or three layers is fine. If you notice a design feels stiff, try a knockout version: in Cricut Design Space, the Slice tool can remove overlapping areas; in Silhouette Studio, the Modify panel offers similar options.
What you’ll need
- Standard HTV in your chosen colours, plus any specialty HTV for the top
- A cutting machine and a design separated into colour layers
- A heat press, an EasyPress-style press or a household iron
- A pressing pillow or a firm, heat-resistant surface
- Parchment paper, a Teflon sheet or a cover sheet
- A weeding hook
- A pre-washed shirt (skip fabric softener)
Look for designs already split into colour layers; when browsing our SVG cut files collection, check the listing for layered versions.
Step-by-step: layering HTV on a shirt
1. Prepare the design
Separate the design into one layer per colour. Decide the order from bottom (background) to top (details). Add a small registration shape, like a tiny square in a corner of every layer, if you want an extra alignment guide; you can trim it off after placing each layer.
2. Mirror and cut each layer
Place the HTV shiny carrier side down on the mat and mirror every layer before cutting. Forgetting to mirror is the most common HTV mistake.
3. Weed each layer
Remove the excess vinyl, leaving the design on its clear carrier. Our guide on how to weed vinyl covers tools and techniques for small pieces.
4. Prep the shirt
Pre-press the shirt for a few seconds to remove moisture and wrinkles. Fold it in half vertically and press lightly to create a centre crease as a guide.
5. Press the first layer briefly
Place the bottom layer, cover it with your protective sheet, and press for only a few seconds, just enough for the vinyl to tack down. Check your vinyl brand’s instructions on whether to peel the carrier warm or cool, then peel.
6. Add the remaining layers
Position the next layer on top, using the clear carrier to line it up. Cover and press briefly again. Repeat for each layer.
7. Do the final full press
When the top layer is in place, press for the full time and temperature your vinyl manufacturer recommends. Cricut publishes an online heat guide with settings for its materials and presses; other brands print settings on the packaging or their websites. Then flip the shirt and press the back briefly if the instructions say so.
Which HTV can go on top?
Not all heat transfer vinyls can have another layer pressed on them. As a general rule:
- Standard (smooth) HTV: can be layered on, and can go on top of most other types.
- Glitter HTV: usually can be layered on top of other HTV, but nothing should be layered on top of it.
- Holographic, foil, flocked and other specialty HTV: often top-layer only; check the manufacturer’s guidance.
When in doubt, keep the specialty material for the final layer.
Why short tack presses matter
Every time the bottom layer goes under the heat, it gets more heat exposure. Pressing each early layer for the full time can overheat it, which can cause shrinking, a glossy or melted look, or adhesive that becomes brittle. Short tack presses keep the total heat on the lower layers reasonable, and the final press bonds everything.
Troubleshooting layered HTV
| Problem | Likely cause | Fix |
|---|---|---|
| Edges lifting after washing | Not enough heat, pressure or time on the final press | Re-press with a cover sheet following the manufacturer’s settings |
| Layers out of alignment | Vinyl shifted or shrank | Use a registration mark; keep tack presses short |
| Bottom layer looks shiny or wrinkled | Overheated during repeated presses | Shorten earlier presses; consider knockout layers |
| Top layer won’t stick | Pressing onto glitter or specialty HTV | Reorder so the specialty vinyl is on top |
| Design feels stiff | Too many stacked layers | Use a knockout design or fewer layers |
Caring for the finished shirt
Most HTV brands suggest waiting at least 24 hours before the first wash, then washing inside out in cool or warm water and avoiding bleach. Tumble dry on low or hang to dry, and don’t iron directly on the design. Check the specific care instructions for your vinyl, as they vary between brands and types.
FAQ
How many layers of HTV can you put on a shirt?
For standard HTV, three to four layers is a common practical limit. More than that tends to feel heavy and stiff; use a knockout design if you need more colours.
Can you layer HTV with an iron?
Yes. Use firm pressure and keep the iron moving over the design, with no steam, and follow the vinyl’s iron-specific instructions. A heat press gives more even results, especially for multi-layer designs.
Do I mirror every layer of HTV?
Yes. Every iron-on layer is cut face down through the back of the vinyl, so each one needs to be mirrored before cutting.
Leave a Reply