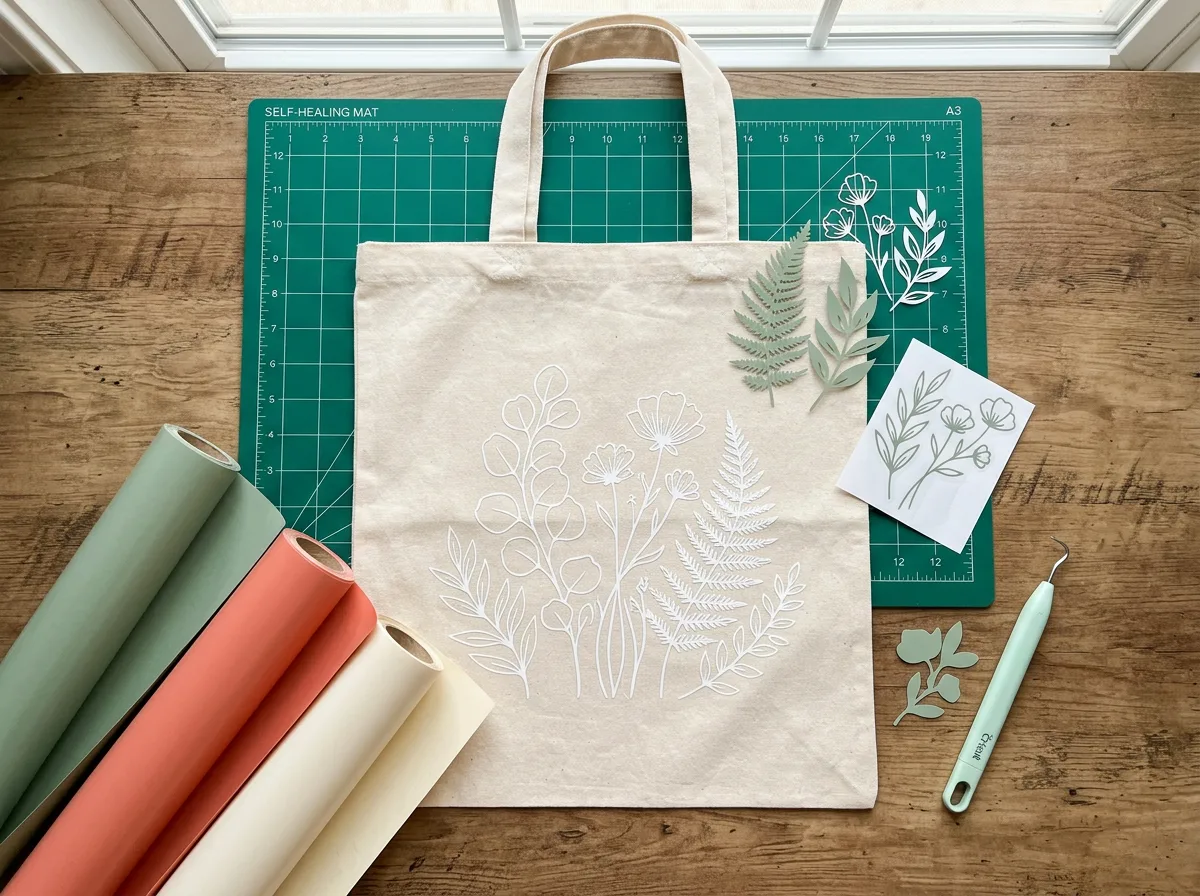

SVG files are the native language of cutting machines: crisp vector paths that scale to any size without blurring. If you’ve just bought an SVG design and want it on a tote bag, mug or card, here’s the whole path from download to cut in Cricut Design Space.
Before you start: unzip the download
Most SVG bundles arrive as a .zip file containing SVG, PNG, DXF and sometimes EPS versions. Design Space can’t read a zip, so extract it first. On Windows, right-click and choose “Extract All”. On a Mac, double-click it. On an iPhone or iPad, open it in the Files app and tap the zip to expand it.
Upload the SVG to Design Space
- Open Design Space and start a New Project.
- Click Upload in the left-hand panel, then Upload Image.
- Click Browse, choose the .svg file and open it.
- Name the image, add tags if you like, and click Upload.
- Select your new image in Recent Uploads and click Add to Canvas.
Use the SVG, not the PNG. SVG keeps separate layers and clean cut lines. PNG is for print-then-cut or for machines and apps that don’t support vectors.
Resize and fix the layers
Measure your blank first. A typical adult tote has room for a design about 9–11 inches wide; a 15 oz mug fits about 3.5 inches tall. Lock the proportions and resize from a corner.
- Ungroup to change colours or remove parts of the design.
- Weld joins script letters so they cut as one piece.
- Attach keeps pieces in the same position on the mat.
- Hide any background or guide layer you don’t want to cut.
Iron-on? Mirror it
For heat transfer vinyl (HTV), click Make, then turn on Mirror for each mat. HTV goes shiny side down on the mat, so the cut has to be reversed. Adhesive vinyl for mugs, tumblers and walls does not need mirroring.
Cut, weed and apply
- Choose the material setting that matches your vinyl, and do a small test cut if it’s a new roll.
- Weed the excess vinyl with a hook tool, starting from a corner.
- For HTV: press with the time and temperature your vinyl brand recommends, then peel warm or cool as instructed.
- For adhesive vinyl: use transfer tape, burnish well, and peel at a sharp angle.
Common problems
| Problem | Fix |
|---|---|
| Design uploads as one solid shape | You uploaded the PNG. Upload the SVG version instead. |
| Letters cut apart | Select the text layers and Weld them. |
| Pieces move around the mat | Select them and Attach before clicking Make. |
| Iron-on reads backwards | Mirror was off. Recut with Mirror on. |
Ready for your next project? Our SVG and cut files come layered, named and tested in Cricut Design Space and Silhouette Studio.
Leave a Reply